As an Amazon Associate we may earn a commission from qualifying purchases made through links on this page, at no extra cost to you.
Double eyelid tape is one of the most useful — and most misunderstood — tools in eye makeup. A thin adhesive strip placed on the upper eyelid can create or sharpen a crease in minutes, opening up the eye and giving monolid, hooded, or uneven lids a defined fold that holds through the day. The technique takes practice, but the result, done well, looks like your own natural lid. Done poorly, you get a visible strip of tape and an irritated eye. This tutorial walks through what the tape actually does, how to choose between the main types, where to place the crease, and how to apply and remove it without stressing the delicate skin of your eyelids.
What double eyelid tape actually does
The “double eyelid” refers to the supratarsal crease — the fold that forms on the upper eyelid when the skin over the eye-opening muscle (the levator) is drawn inward as the eye opens. Whether someone has a visible crease comes down to how that muscle attaches to the skin and how much soft tissue sits between them. Where there is little or no such attachment, the lid stays smooth — what is commonly called a monolid.
Double eyelid tape works around that anatomy rather than against it. The strip adheres to the skin and either pushes the lid upward (single-sided) or pinches two layers of skin together (double-sided), forcing a temporary fold along whatever line you place it. Remove the tape and the lid returns to its natural shape. It is a cosmetic, reversible effect — during normal use there is no permanent change to the muscle or skin.
That is also why placement matters more than the tape itself. The tape does not “know” where your crease should go; it simply holds whatever line you give it. Most of the skill is in finding the right height and arc for your eye.
The three main types of double eyelid tape
There is no single best type — each is built for a different lid shape and goal. Based on product descriptions and widely reported user feedback, the categories shake out like this:
Single-sided tape has adhesive on one side and a smooth front. You stick it to the lid and it pushes the skin upward to form the crease. It is the most forgiving option for beginners, it is easier to hide, and it tends to look softer. The trade-off is hold — on oily or heavy lids it can lift at the edges before the day is over.
Double-sided tape is sticky on both faces and works by bonding the lid skin to itself, creating the fold by literally pinching the skin. It gives a sharper, higher crease and stronger hold than single-sided, which makes it a common pick for monolids or heavier lids. It is also more visible at close range and trickier to place cleanly on the first try.
Fiber and lace bands use a thin elastic thread or mesh strip instead of a solid tape. They are the least visible option and the most natural-looking once applied, but they demand the steadiest hand — the line has to be exact, because there is almost no room to adjust.
Well-known options across these categories include D-UP Wonder Eyelid Tape (sold in Mild, Extra, and Hold strengths), ACPF’s Beauty (AB) eyelid tapes, and a range of “magic” fiber tapes from Korean and Japanese brands. You can browse double eyelid tape options on Amazon to compare sizes and adhesive strengths.
Choosing the right tape for your eye
Match the type to your starting point. If you have a monolid with little natural fold, double-sided tape or a fiber band usually gives the defined crease you are after. If you already have a crease but it is uneven, low, or hidden under hooded skin, single-sided tape placed just above the existing line is enough to lift and even it out — and it is far easier to make look natural. For hooded or mature lids where the crease sits low, a lighter single-sided strip avoids the heavy, “stuck” look that double-sided tape can create on thinner skin.
If you are new to working with monolid or low-crease eye shapes generally, our monolid makeup tutorial covers placement and shading principles that pair well with taping.
What you’ll need
- Double eyelid tape (single- or double-sided, depending on your lid)
- The forked applicator that comes with most tape kits (a spare Y-shaped tool is worth having)
- Pointed tweezers for lifting the strips
- An oil-free cleanser or micellar water, plus a clean towel
- Cotton swabs for fine adjustment
- Optional: a matte eyeshadow primer for the surrounding skin
Clean, dry, oil-free skin is non-negotiable. Eyelid sebum is the single biggest reason tape fails to stick, so wash the lid, skip heavy eye cream on that area, and let it dry fully before you start.
Step-by-step application
- Prep the lid. Cleanse the upper lid with an oil-free formula and pat it completely dry. Any moisture or residue will weaken the adhesive.
- Find your crease line. Look straight ahead, then slowly look down into a mirror while pressing gently with the applicator fork to locate where the lid naturally wants to fold. For most eyes this sits several millimeters above the lash line — higher creates a larger, rounder eye, lower looks more natural.
- Mark and place the tape. Using the fork as a guide, press the tape along that arc, following the gentle curve of your eye rather than a straight line. Start at the inner corner and smooth outward.
- Push the fold in. With the fork, press the skin just above the tape inward and downward toward the eye until the lid folds over the top edge of the tape and the crease pops into place.
- Check from eye level. Lower your mirror to eye level and open your eyes normally. If the crease looks uneven, lift the tape with tweezers and reposition — far better to adjust now than after makeup.
- Blend the surrounding area. A light dusting of matte powder or a thin layer of matte primer on the skin around (not on) the tape softens the edge and helps makeup sit cleanly afterward.
Making the crease look natural
The difference between a believable crease and an obvious strip of tape is almost always placement and finish. Place the tape along the natural arc of your eye — slightly higher at the outer corner — rather than in a flat horizontal line, which reads as artificial. Choose a translucent or skin-toned tape and, if you can, trim the ends so they stop just short of your inner and outer corners where the lid tapers.
Keep cream products away from the tape; they break down adhesive and leave a greasy edge. Powders and matte shadows behave much better. If you wear eyeshadow over the taped crease, press shadow onto the lid rather than sweeping it, so you do not disturb the tape, and avoid loading product directly onto the strip itself. For hooded lids in particular, the blending and placement principles in our guide to blending eyeshadow for hooded eyes carry over directly — the new crease behaves a lot like a hooded lid once the fold is set.
How to remove the tape safely
Never peel the tape off dry. The skin of the eyelid is among the thinnest and most delicate on the body, and ripping an adhesive strip off it day after day can cause redness, micro-tears, and over time a stretched, droopy look. Instead, dissolve the adhesive first: soak a cotton pad in an oil-based or dual-phase makeup remover, hold it against the closed lid for 20–30 seconds to let the adhesive break down, then slide the tape off gently with the pad or a cotton swab. Follow with a light, fragrance-free moisturizer.
Our eye makeup removal tips go deeper on technique and products that protect the eye area during cleanup, including the oil-based removers that dissolve adhesive best.
Avoiding irritation and keeping your eyes safe
Because the tape sits directly on thin eyelid skin for hours, adhesive sensitivity is the main risk. Reactions to cosmetic adhesives fall under contact dermatitis, which the American Academy of Dermatology describes as a rash caused when a substance irritates the skin or triggers an allergic response — exactly the kind of reaction repeated adhesive contact can produce. To stay ahead of it:
- Patch test first. Place a small piece of tape on the inside of your arm or behind your ear for 24 hours before putting it on your lid.
- Look for hypoallergenic, latex-free adhesives, and avoid tapes with strong fragrances.
- Don’t apply over broken, sunburned, or already irritated skin.
- Give your lids rest days rather than wearing tape every single day.
- Keep the tape above the lash line and well clear of the eye itself. The American Academy of Ophthalmology’s eye makeup safety guidance stresses keeping cosmetics and foreign materials away from the eye to avoid infection and irritation — the same principle applies to adhesives near the ocular area.
If you wear contact lenses or have reactive eyes, the cautions in our sensitive eyes makeup guide are worth reviewing before adding an adhesive product to your routine. Anyone with an active eye condition should check with an eye-care professional before using lid tape.
Common mistakes to avoid
- Placing the tape too low. A crease set right at the lash line looks heavy and unnatural; aim for several millimeters above it.
- Drawing a straight line. Eyes curve, and your tape should too.
- Skipping the oil-free cleanse. Residual sebum is the top cause of tape peeling off by midday.
- Over-adjusting. Peel and re-stick only once or twice — the adhesive weakens each time.
- Sleeping in the tape. Overnight wear risks irritation and skin stress; always remove it before bed.
Frequently asked questions
How long does the crease hold? With a clean, dry lid and a tape matched to your eye, most people get a full day of wear — typically eight hours or more. Oily lids and humid weather shorten that.
Will wearing tape create a permanent crease? The evidence for a long-term crease from tape alone is anecdotal and not well supported. The effect is cosmetic and reversible; expect the lid to return to its natural shape once you stop.
Is it safe with contact lenses? Yes, as long as the tape stays on the lid skin and away from the eye and lashes. Insert lenses before applying tape, and remove tape before lenses to avoid tugging near the eye.
Can I wear eyeshadow over it? You can, with care — use powders pressed gently onto the lid and keep heavy creams off the tape. The crease the tape creates can even give you more lid space to work with.
Wrapping up
Double eyelid tape is a low-cost, reversible way to define or even out a crease, and once placement clicks, the result can look remarkably natural. Get the fundamentals right — clean skin, the right tape type for your lid, a curved line placed a few millimeters above the lashes, and gentle oil-based removal — and the rest is practice. Pair it with the eye-shape and blending fundamentals linked above, give your lids regular breaks, and you will get the most out of the technique without irritating the skin that matters most.
Get weekly eye care & beauty tips
Guides from the Eyeshadow Looks Beauty Desk. No spam, ever.
Related Articles
 tutorials
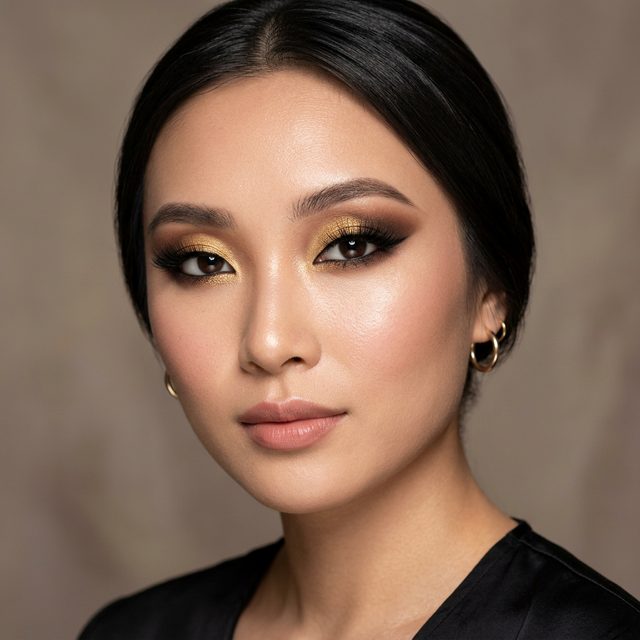
 Monolid Makeup Tutorial: Eyeshadow Techniques That Actually Work
Read Guide arrow_right_alt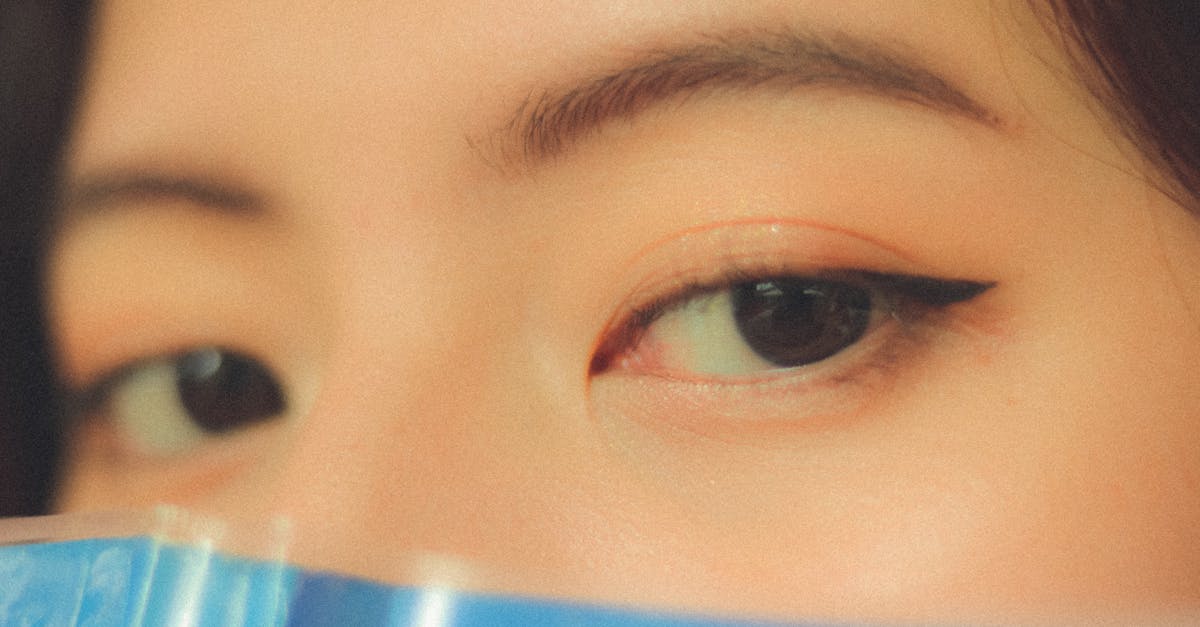 tutorials
 How to Blend Eyeshadow for Hooded Eyes: The Techniques That Actually Work
Read Guide arrow_right_alt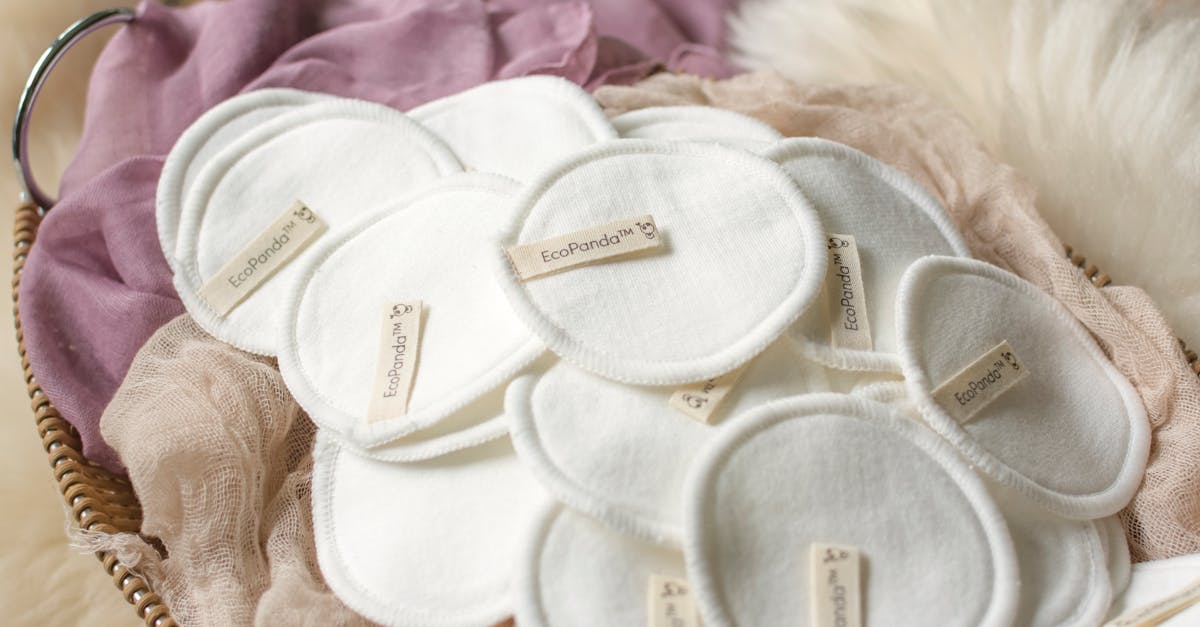 remedies
 Eye Makeup Removal Tips to Prevent Wrinkles and Skin Damage
Read Guide arrow_right_alt tutorials